
Drywall removal is the messy middle of most renovations. A basement redo, a kitchen gut, a water leak, a wall that needs new wiring behind it: sooner or later the drywall comes off. It is not skilled work, but done carelessly it spreads dust through the whole house, cuts into live wires, and in older homes can disturb asbestos.
This guide covers how to take drywall down safely and with as little mess as possible: what to check before you start, the tools and protection to have on hand, the step-by-step method for walls and ceilings, and how much debris to expect. For what can and cannot go in the bin afterwards, our post on whether drywall can go in a dumpster has the disposal side.
Check for asbestos before you cut
If your home was built or renovated before about 1990, stop here first.
Health Canada lists drywall, spackling, plaster, paint and caulking among the older building materials that may contain asbestos, and says it was used mainly before 1990. In drywall, the concern is usually the joint compound used on seams and corners, and textured finishes on walls and ceilings, rather than the gypsum board itself. You cannot tell by looking.
Asbestos is a risk when its fibres get into the air, and tearing out drywall is about the most efficient way to put dust in the air there is. Health Canada's advice is to have a professional test before renovating, and to hire a qualified removal specialist if asbestos is found. For workers, Ontario regulates asbestos work under O. Reg. 278/05, which sets precautions by the type of work. Our asbestos testing guide explains how sampling works. If the walls turn out to be plaster on lath rather than drywall, read our guide to plaster walls instead, because that job is heavier and dustier.
A newer house, or drywall you know was installed recently, does not need this step. A 1970s basement does.
Find out what is behind the wall
Every wall hides something. Before you cut, figure out what.
- Electrical. Outlets, switches and fixtures tell you where wires run, but cables can travel anywhere between them. Turn off the breakers for the room, then confirm with a non-contact voltage tester at every outlet and switch.
- Plumbing. Look for fixtures on either side of the wall and on the floor above. Bathrooms and kitchens back onto each other more often than you would think.
- Gas and ductwork. Furnace ducts run through interior walls and ceilings, and gas lines sometimes do.
- Exterior walls. Expect insulation and a plastic vapour barrier behind the drywall. More on those below.
The rule that keeps people safe: never cut deeper than the drywall itself. Half-inch drywall is half an inch. A utility knife or a drywall saw used carefully stays in that layer. A reciprocating saw does not, and it is how people cut through cables and pipes they did not know were there.
Tools and protection
Most of what you need is cheap, and you may own some of it already.
For the work:
- A utility knife with plenty of blades.
- A jab or drywall saw, or an oscillating tool with a shallow blade.
- A hammer and a flat pry bar.
- A drill or screwdriver for screws, and pliers or a nail puller.
- Heavy contractor bags, a few buckets, and a wheelbarrow if the bin is a distance away.
- A shop vacuum with a fine dust filter, ideally HEPA rated.
For you:
- A well-fitted disposable respirator rated N95 or better for ordinary drywall dust. If there is any chance of asbestos, test first rather than relying on a mask.
- Safety glasses or goggles, especially for ceilings.
- Gloves, long sleeves and sturdy boots. Old drywall is full of nails and screws.
Contain the dust
Drywall dust is fine, gets everywhere, and is murder on a furnace filter. Ten minutes of setup saves hours of cleaning.
- Empty the room, or cover what stays with plastic.
- Tape plastic sheeting over doorways. A zippered dust door makes coming and going easier.
- Turn off the furnace or air conditioner, and tape over supply vents and return grilles in the room.
- Put a box fan in a window, blowing out, to keep the room under slight negative pressure.
- Lay a drop cloth or cardboard over flooring you are keeping.
How to remove drywall from walls
- Turn off the power to the room and confirm it is off.
- Remove baseboards, casing and trim, carefully if you plan to reuse them.
- Remove outlet covers, switch plates and anything mounted on the wall.
- Score the joint where the wall meets the ceiling, and where it meets any wall you are keeping, with a utility knife. This stops the paper tearing off the surfaces you want to save.
- Find the studs, then knock or cut a hand hole between two of them, never on a stud line.
- Grab the edge and pull large pieces toward you. Big pieces mean less dust and fewer trips.
- Work along the wall, pulling sheets off the studs and cutting around boxes and openings.
- Pull or drive out every remaining screw and nail, so the studs are clean for whoever comes next.
Bag small pieces as you go, and carry the large ones straight to the bin. A floor covered in broken drywall is a trip hazard and grinds into dust under your boots.
Ceilings: slower and with a helper
Ceiling drywall is heavier to handle because it falls toward you. Work with a second person, wear eye protection, and never stand directly under a section you are pulling.
Start at an edge, cut the sheet into manageable sections along the joists, and bring each section down under control rather than letting it drop. Watch for insulation in a top-floor ceiling, which will come down with it, and for light fixture boxes and ducts above.
If the ceiling has a textured or popcorn finish in an older home, test it before removal. Our guide to popcorn ceiling removal covers that case.
Insulation, vapour barrier and wet drywall
Behind exterior walls you will usually find fibreglass or mineral wool batts and a plastic vapour barrier. If they are dry and in good shape, some people keep the batts; usually they come out with the drywall. Bag batts as you pull them, and wear long sleeves and a respirator, because fibreglass is an irritant.
If you find loose, pebble-like insulation that is grey-brown or gold, especially in an attic or a wall cavity, stop. That may be vermiculite, which can contain asbestos. Our vermiculite insulation guide explains what to do.
Drywall that has been wet, as after a flood or a long leak, is heavier and may be mouldy. Cut it out well past the water line, bag it, and dry the cavity thoroughly before closing it up. Our flooded basement cleanup guide covers the drying side.
How much debris will you have?
Drywall is heavier than people expect. A standard half-inch, 4 by 8 foot sheet weighs roughly 25 kilograms new.
To estimate, add up the wall and ceiling area in square feet and divide by 32, the area of one sheet. A 12 by 12 foot bedroom with an 8 foot ceiling has 384 square feet of walls and 144 square feet of ceiling, or about 16 to 17 sheets in all. At around 25 kg a sheet, that one room is in the order of 400 kilograms before you count trim, insulation or screws.
By volume, broken drywall and renovation debris run roughly 0.12 to 0.22 tonnes per loose cubic yard by our planning figures. A single room fits easily in our smallest bin. A whole basement, or a floor taken back to the studs, starts to press against the 1 metric tonne of disposal included with a standard rental, so that is worth a conversation when you book. Our material weight chart has the figures.
Choosing the bin
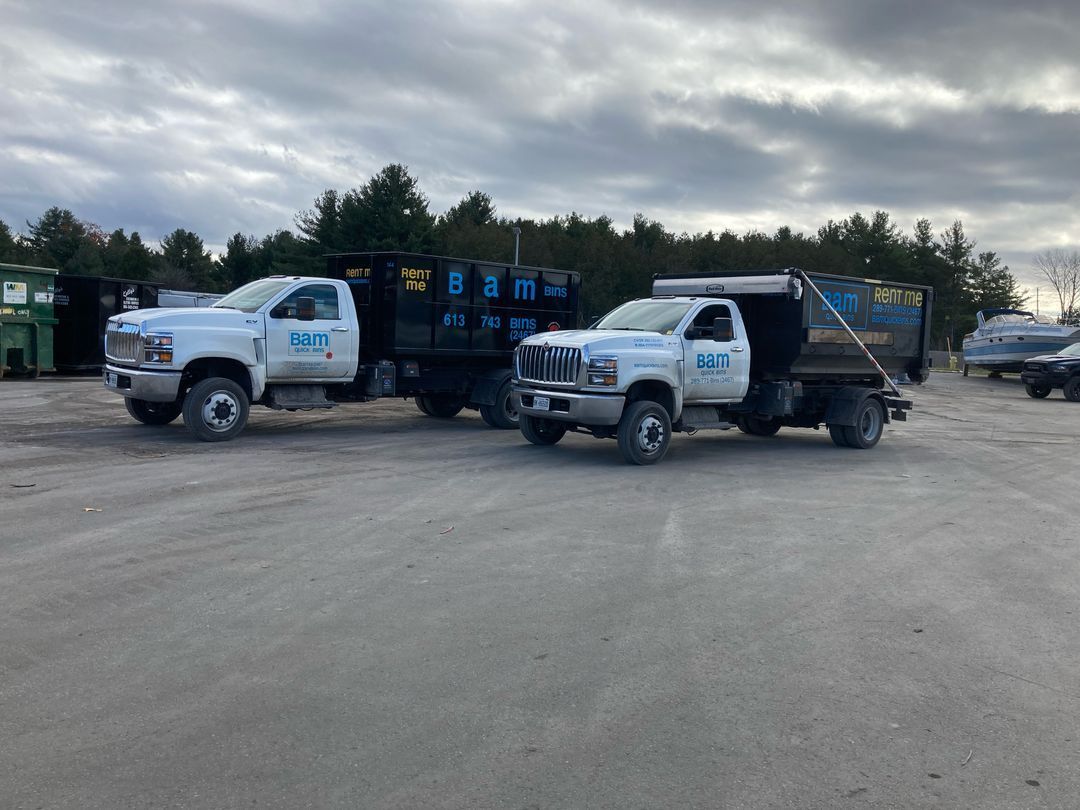
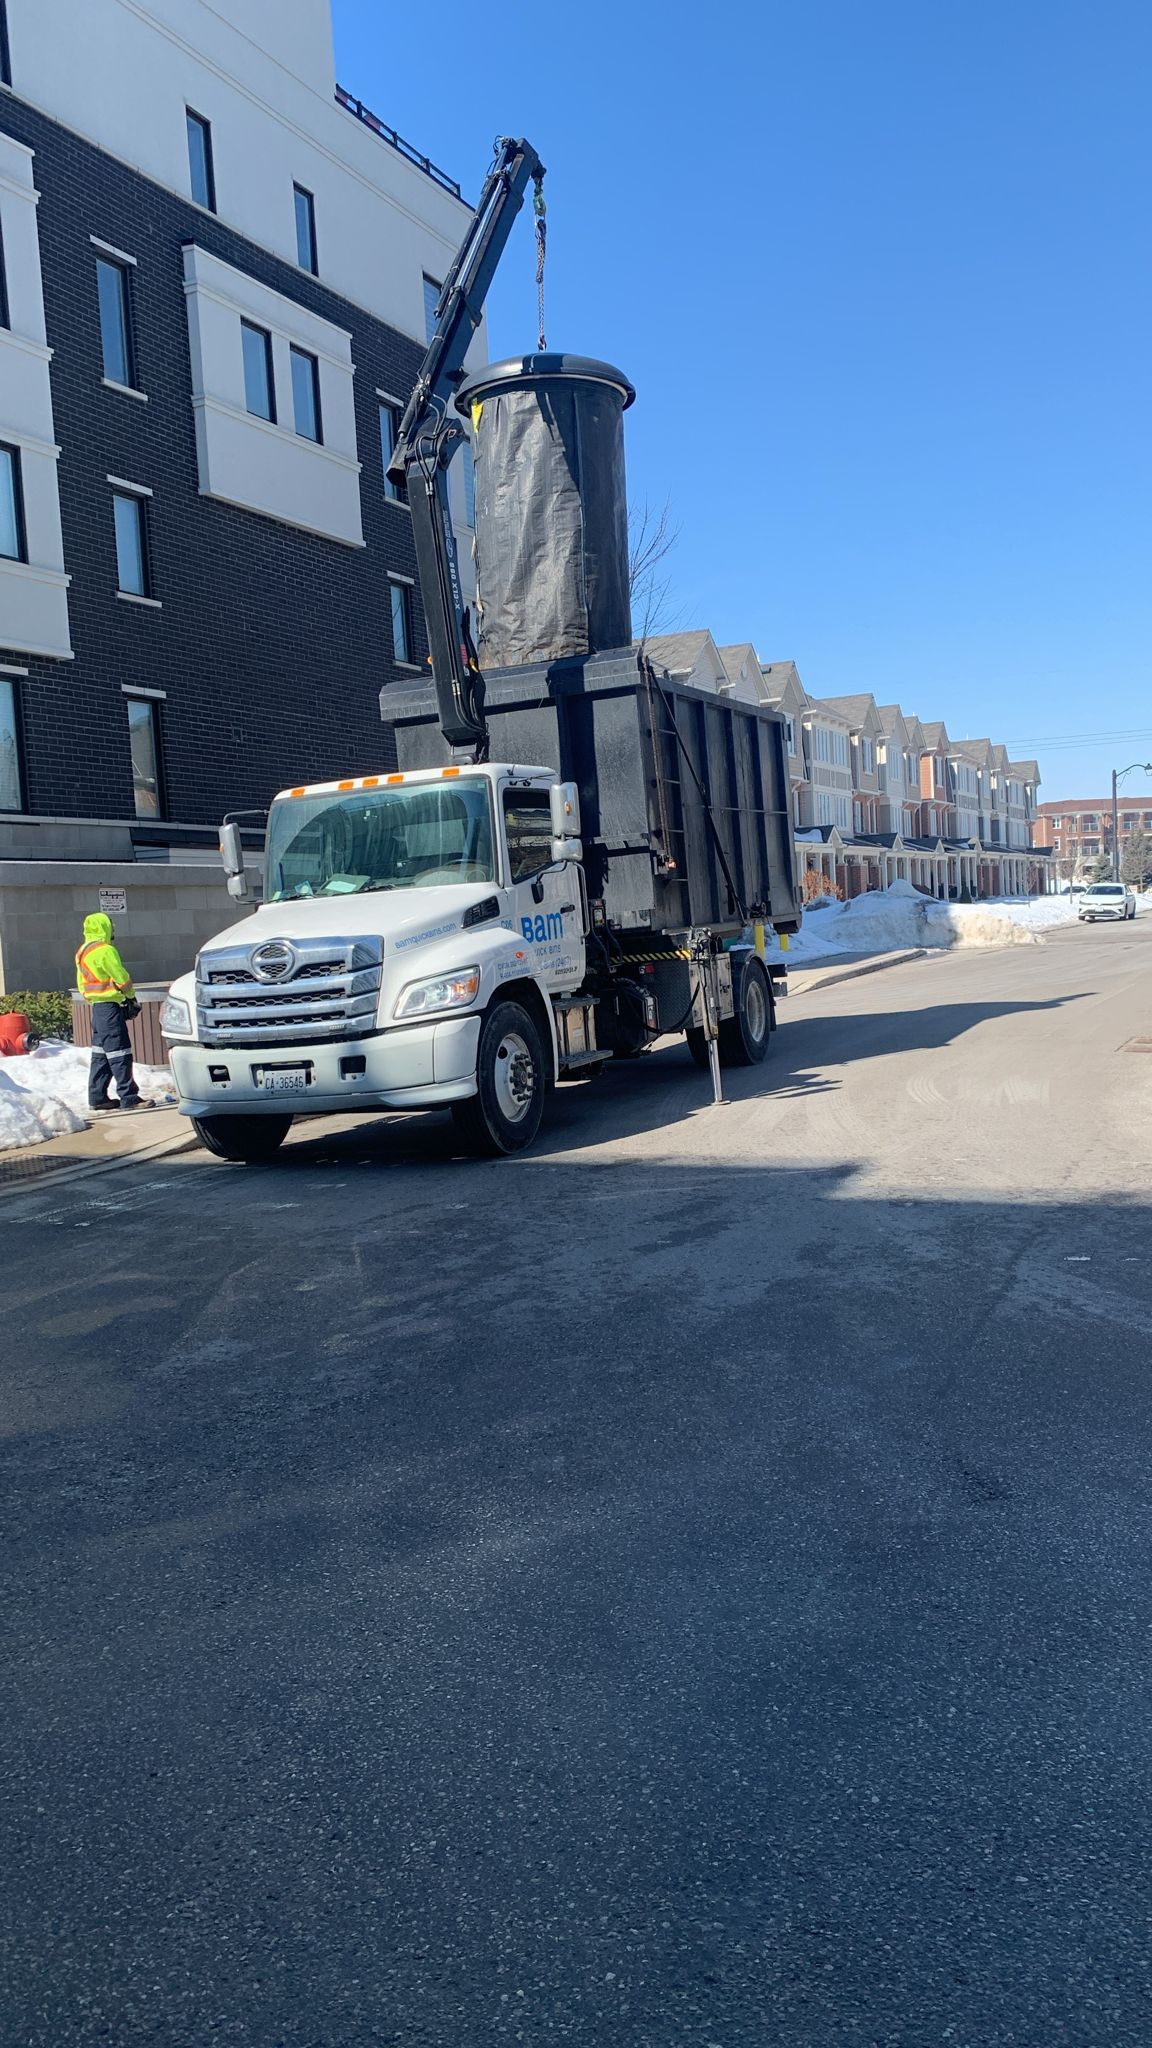
- One room, nothing else: a Bam Bag rated to 1 tonne, or a 10-yard bin if flooring and trim are coming out too.
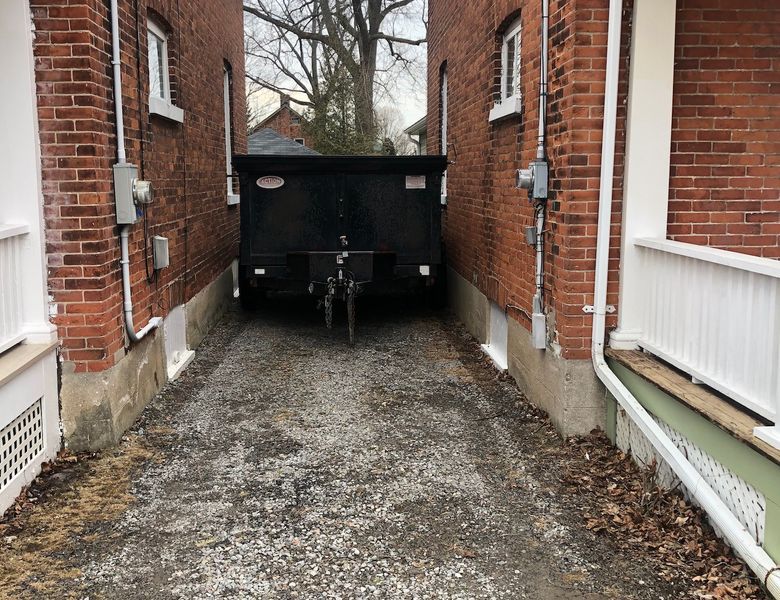
- A basement or a kitchen with cabinets and flooring: usually a 15-yard. See the 15-yard bin guide.
- A gut renovation across a floor or the whole house: a 20-yard, with a plan for the weight.
Load drywall flat across the floor of the bin and put lighter, bulkier debris on top. Our residential bin rentals cover most renovations.
Cleaning up
When the walls are bare, vacuum the studs, the floor and every ledge with the shop vac. Do not dry sweep; it puts the fine dust back in the air. Wipe surfaces with a damp cloth, take down the plastic by folding it inward on itself, and change the furnace filter before you turn the system back on.
Partial removal and flood cuts
Not every job needs the whole wall gone. Removing only part of a sheet is common after water damage, for new wiring or plumbing, or to fix a section that has cracked or been punched through.
For a partial removal, mark the area you are taking out and extend it to the centre of the nearest studs on each side, so the new piece has something to fasten to. Cut along the lines with a utility knife, scoring several times rather than forcing one deep cut. Keep the edges straight and you will save time when you patch.
After a flood, people often make a flood cut: a straight, level line across the wall above the highest point the water reached, removing everything below it. The idea is to get out all the wet drywall and insulation, plus a margin, so the cavity can dry. Snap a chalk line so the cut is level, score it, then pull the lower section away from the studs. Check the cut edge and the insulation above it for wetness before you decide the line is high enough.
Two things to watch with partial removal. First, the dust control and the asbestos question are exactly the same as for a full tear-out; a small hole in an old wall is still disturbing old joint compound. Second, it is easy to underestimate how much of a wall is damaged. Water wicks upward through gypsum and insulation, and a crack can run behind the paint well past where you can see it. Open a little more than you think you need, look, and then decide.
Mistakes worth avoiding
- Cutting with a reciprocating saw or a circular saw at full depth. That is how wires and pipes get hit.
- Skipping the dust setup because it is "just one wall". One wall is plenty to coat a house.
- Tearing the paper off the ceiling or a wall you are keeping because the corner was not scored first.
- Leaving nails and screws in the studs. Whoever hangs the new drywall will curse you.
- Throwing drywall into a bin loose and tilted so it takes up three times the space it should.
When to hire it out
Call a contractor if testing finds asbestos, if the job is mostly ceilings, if the walls turn out to be plaster and lath, if you are removing a wall rather than just its covering, or if there is mould beyond a small area. Drywall removal is a good DIY job right up until one of those turns up.
Where we help
We deliver renovation bins across our service area, including Toronto, Scarborough, Brampton, Kanata, Kingston and Innisfil. Tell us how many rooms are coming down to the studs and what else is going in the bin, and we will help you pick the size.