The old shed at the back of the yard usually starts as a solution and ends as a problem. The roof leaks, the door has not closed properly in years, the floor is going soft, and something has almost certainly moved in underneath. Eventually it has to go.
Shed removal is a manageable job for most homeowners, and a satisfying one. This guide covers how to empty a shed safely, the checks to do before demolition, how to take apart wood, metal, and resin sheds, what to do with the base, and how to size the bin for the debris.
Empty it first, carefully
Sheds collect things that should not go in a bin. Before you take anything apart, empty it completely and sort as you go:
- Gas cans, oil, pesticides, fertilizers, pool chemicals, and paint go to a household hazardous waste depot. Our household hazardous waste guide covers where they go.
- Propane cylinders need their own route. See our guide to propane tank disposal.
- Old lawn mowers, trimmers, and other engines should have their fuel and oil drained before they go to a scrap yard or a bin.
- Tools, bikes, and garden equipment can be kept, sold, donated, or scrapped.
Watch for wasps. Late summer is peak season for nests in sheds, often tucked under the eaves or inside the walls. Check before you start banging around, and have nests dealt with first if needed. Mice are also common, so wear gloves and a mask when clearing nests or droppings.
Check for wildlife living underneath
The space under a shed floor is prime real estate for skunks, groundhogs, raccoons, and rabbits. Before you start demolition, look for burrows, tracks, and holes along the edges.
If something is living there, give it a chance to leave on its own. Loosely blocking the entrance with crumpled newspaper is a common trick: if the paper is pushed aside over a couple of days, something is still coming and going. Be especially careful in spring, when animals may have young underneath.
If you need help, call a licensed wildlife control service. Moving animals yourself is restricted in Ontario: under the province's rules for wildlife damaging private property, live animals that are captured must be released within 1 kilometre of where they were caught, so relocating a skunk across town is not an option anyway.
Pick your season
Timing a shed removal well makes the job easier and kinder to the animals that use it.
Late fall is often the best window. A few hard frosts finish off wasp nests, young animals born in spring have long since moved out, and the ground is usually still soft enough to dig out a pad or footings. The weather is cool enough for heavy work, too.
Spring and early summer are the riskiest months for wildlife, since skunks, raccoons, and groundhogs often raise young under sheds and decks. Late summer is peak wasp season. Neither rules out a shed removal, but both mean checking more carefully before you start.
Winter works for metal and resin sheds on a pad, but frozen ground makes footings and gravel bases hard to deal with, and a shingled roof is brittle and slippery in the cold.
Utilities and permits
If the shed has electrical power, have a licensed electrician disconnect it at the source before demolition. Do not assume a shed's power is switched off just because the lights are off.
Removing a shed rarely needs a permit, but if you plan to dig out concrete footings or a buried pad, request free utility locates from the Ontario Dig Authority, formerly Ontario One Call, before you dig.
Safety before you swing
Wear sturdy gloves, safety glasses, steel-toed boots, and a hard hat when pulling down roofs and walls. Old roofs are full of nails, and pieces come down unexpectedly.
Never stand under or beside a wall that could fall. Plan which way each section will drop before you cut or pull it.
Mind the fence line. Many sheds sit tight against a property line, and a wall pushed the wrong way can flatten a neighbour's fence or garden. Take walls on the fence side down panel by panel, pulling them inward toward your own yard, and talk to the neighbour before you start if their property is close.
Have the right gear on hand: a flat pry bar and a long wrecking bar, a reciprocating saw with demolition blades, a drill or impact driver, a hammer, a roofing shovel for shingles, a sturdy stepladder, and a wheelbarrow. A tarp spread beside the shed catches nails and small debris and makes cleanup much faster.
Older sheds can hide hazards in their materials. Paint on sheds built before the 1960s may contain lead, so avoid sanding it, keep dust down, and wash up well. Some older sheds and outbuildings used cement-based panels that can contain asbestos. If yours has old cement siding or roofing, test it before you break it. Our guide to asbestos testing explains how.
Wood sheds: demolition order
A wood shed comes down best from the top:
- Remove doors and windows. Tape window glass or take it out whole, so it cannot shatter.
- Strip the trim and any gutters.
- Remove the roofing. Shingles come off with a flat shovel or a roofing spade. They are heavy, so load them as you go.
- Take off the roof sheathing, then the rafters or trusses.
- Remove siding, then take the wall framing down in sections, cutting it into pieces you can carry.
- Pull up the floor sheathing, then the floor joists.
- Deal with the base.
Some people prefer to remove the roof and then push the walls inward to collapse them. That works, but only if everyone stands well clear and the walls fall onto open ground, not onto a fence or a neighbour's garden.
Metal sheds
Metal sheds come apart more easily than wood ones. They are held together with screws and bolts, so working in roughly the reverse order of assembly, starting with the roof panels, takes them down quickly.
The edges of thin sheet metal are sharp, so wear cut-resistant gloves throughout. Light-gauge steel from a metal shed can go to a scrap yard, where it will be recycled, though it is not worth much. Our scrap metal recycling guide explains what scrap yards accept. If the trip is not worth it, metal shed panels can go in a bin too.
Resin and vinyl sheds
Plastic sheds are the easiest of all. They usually unclip or unscrew into panels. Older resin that has become brittle in the sun may simply snap apart. Most resin and vinyl sheds end up in landfill, since the plastics are hard to recycle, so the panels can go straight into a bin.
The base: gravel, pavers, or concrete
What a shed sits on matters as much as the shed itself:
- Patio stones and pavers can be lifted and reused elsewhere in the yard.
- A gravel base can be spread out, reused for a new shed, or removed. Gravel is heavy, so treat it like clean fill.
- A concrete pad can stay as a patio or a base for a new shed, or be broken up with a jackhammer or rotary hammer, which most rental shops carry. Broken concrete goes in a clean-fill bin through our dirt and concrete service.
- Wooden skids or a timber frame go in the regular bin with the rest of the shed.
How much debris a shed makes
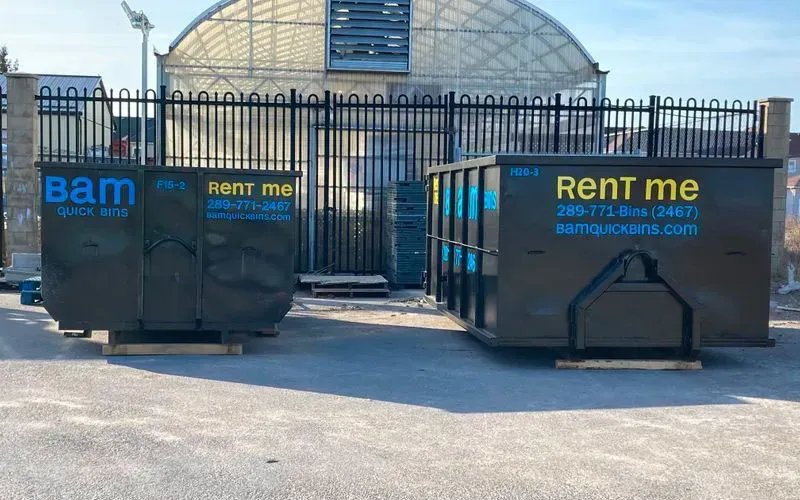
An 8 by 10 foot wood shed with a shingled roof, broken down and loaded carefully, usually fits in a 10-yard bin. Larger sheds, around 10 by 12 or 12 by 16 feet, typically need a 15 or 20-yard bin.
Watch the weight with shingles, and keep concrete separate. Our residential rentals include boards under the bin to protect your driveway, and our bin size guide compares sizes by project. If the shed is part of a bigger backyard project, our deck removal guide covers the other structure that often comes down at the same time.
Loading the bin so it all fits
Shed debris is a mix of long pieces, flat sheets, and heavy loose material, and the order you load it changes how much fits.
Shingles go in first, spread across the floor of the bin, because they are the heaviest part of the load and you want that weight low and even. Flat sheathing and siding go on top, laid flat. Then the framing, cut into lengths that lie down rather than stand up. Fill the gaps with trim, doors, and small pieces. Keep the load level with the top of the bin; nothing can stick out above the walls, since the load has to travel safely on public roads.
Keep anything that does not belong in the bin out of it entirely: fuel cans, propane cylinders, paint, and chemicals from the shed's contents. Our list of what can and cannot go in a rental bin covers the rest.
Hiring help, or not
Most single-storey wood sheds are well within a homeowner's reach. The work is repetitive rather than technical, and the biggest risks are falling roof sections and sharp nails, both manageable with care and the right gear.
Hire help when the shed is unusually large, close to power lines or a neighbour's structure, built with cement panels you have not tested, or so badly rotted that walking on the floor or leaning a ladder against a wall is unsafe. A contractor can usually take down a small shed in a few hours. If the shed is packed with years of contents, a bin from our junk removal service gives you somewhere to put it all before the demolition starts, and you can fill it at your own pace.
Salvage worth keeping
Not everything has to go. Shed doors and windows in good shape can be reused or given away. Sound lumber can become garden boxes, shelving, or firewood kindling, as long as it is not pressure-treated or painted. Hardware like hinges and latches is worth keeping in a coffee can for future projects.
What to do with the spot
Once the shed is gone, you will usually find bare, compacted soil. Loosen it, add a layer of topsoil, and seed or sod it if you want grass back. If a new shed is going in its place, check your municipality's rules first. Under the Ontario Building Code, a detached shed larger than 15 square metres generally needs a building permit, and municipal zoning bylaws set their own rules about height and how close a shed can sit to property lines. Your town's building department can confirm what applies to your lot before you buy a kit.
Where we help
We deliver bins for shed removals across southern and eastern Ontario, including rural properties around Grafton, Roseneath, Stirling, and Essa, and suburban yards in Caledon. Tell us the size of the shed and what it sits on, and we will help you pick the bin.